Product: CODESOFT
Version: Enterprise Single-User
A database record can be selected and printed through a Command File Interpreter (CFI) drop file through the use of a Table Lookup connection in the CODESOFT label design. Begin by designing a label with a Table Lookup connection used to query the desired database file. It is important to ensure that a When Printed variable is used to define the record in the database that is to be printed.
To create a Table Lookup connection that uses a When Printed field:
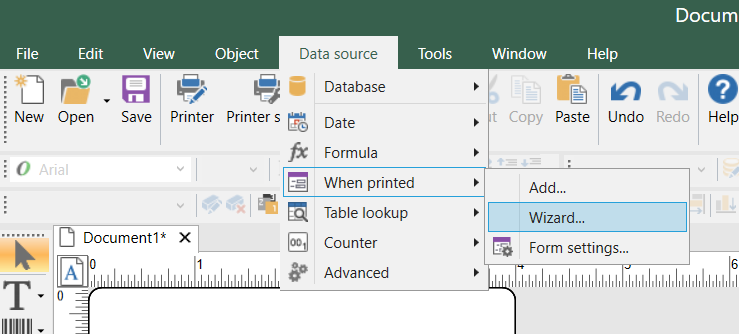
1. Click Data sources > When Printed > Wizard, to add a new When Printed variable. The New data source wizard will appear.
2. Enter and name for the when printed variable, and record the name. This name will be referenced in the Table Lookup connection as well as the CFI drop file. Define additional settings as needed.
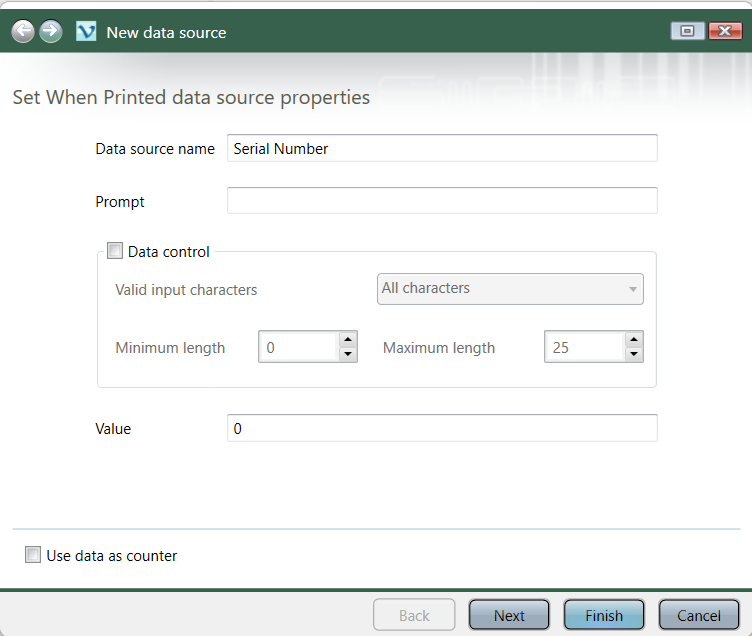
3. Click Finish. The When Printed variable is now created.
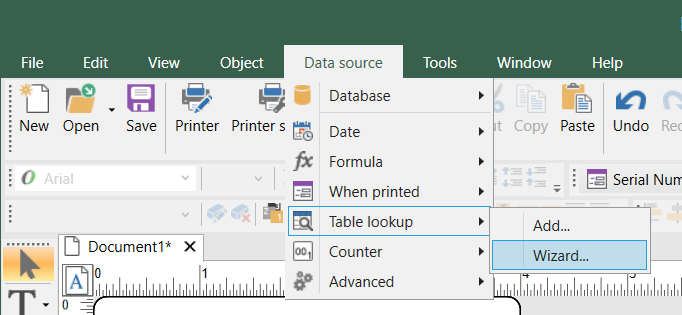
4. Click Data sources > Table lookup > Wizard, to create a new Table lookup connection. The New data source wizard will appear.
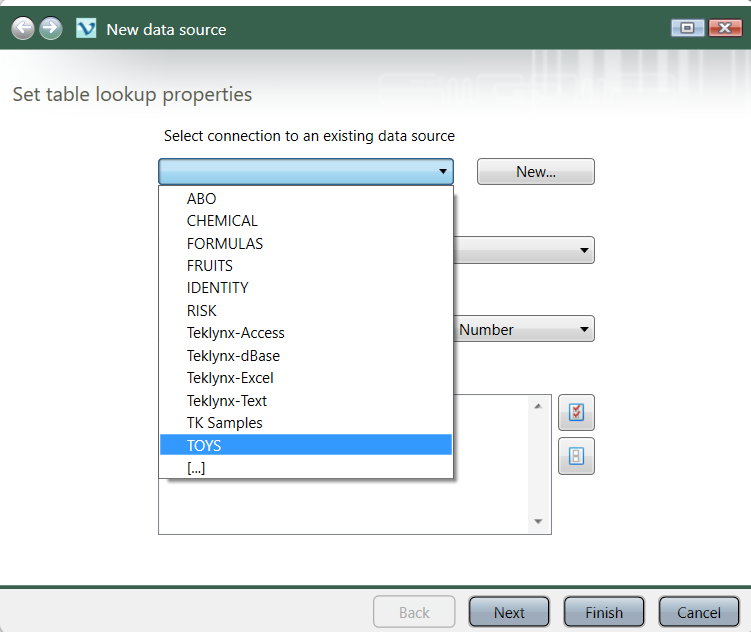
5. Select an existing database connection from the Select connection to an existing data source drop down box or click New to create a new connection.
6. Select the desired sheet or table to connect to from the Select the table drop down box.
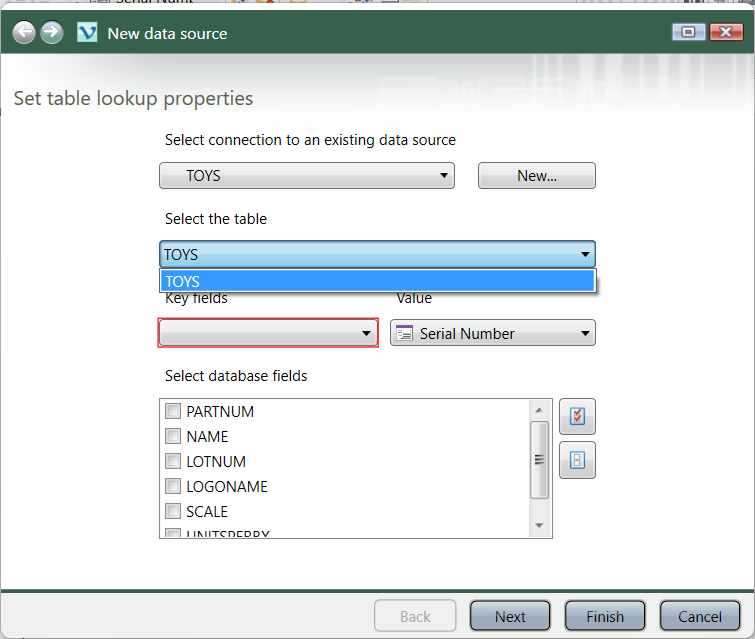
7. Define the column in the database that will be used to query the database for a specific record, from the Key fields drop down box.
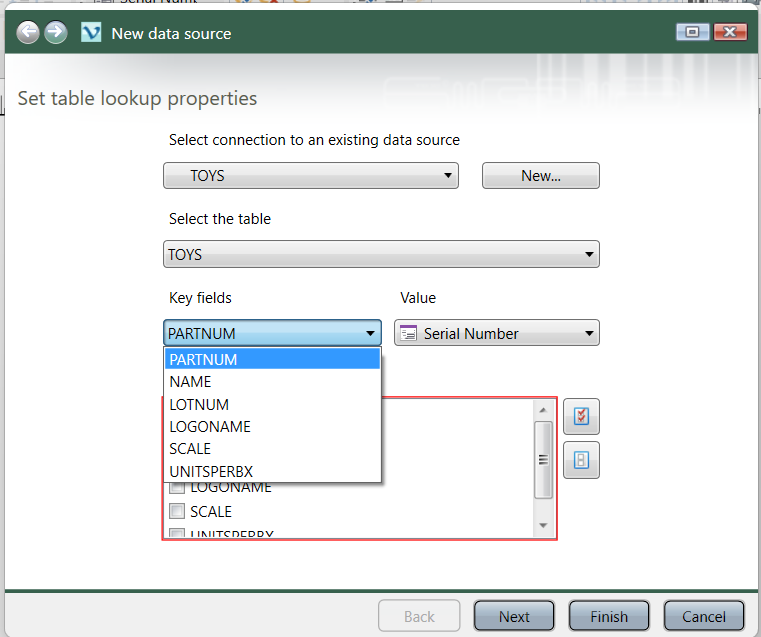
8. Select the variable name for the When Printed field that was defined in Step 2, from the Value drop down box.

9. Select the database fields that will be needed on the label from the Select database fields window.
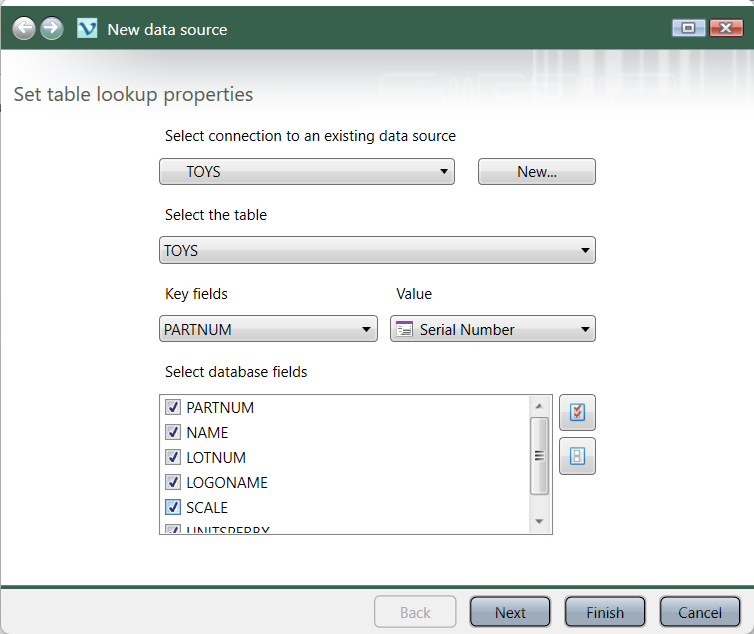
10. Click Finish.
With the When Printed and Table lookup fields created, the label can be designed utilizing the fields as needed. Following the creation of the label designs, a CFI watch will need to be created and started.
To create a new CFI watch:
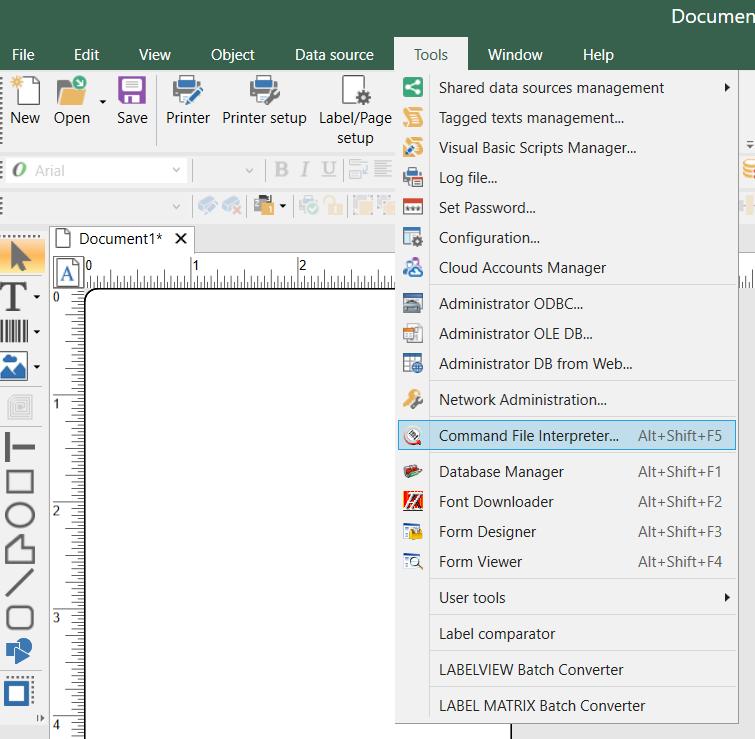
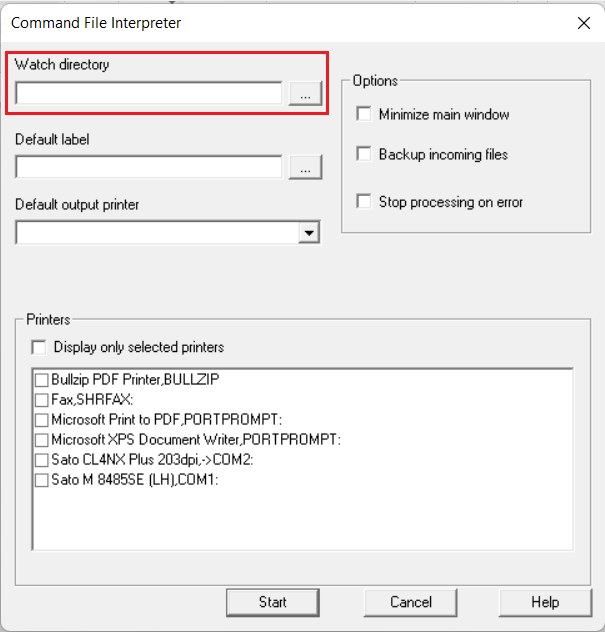
1. Click Tools > Command File Interpreter. The Command File Interpreter window will appear.
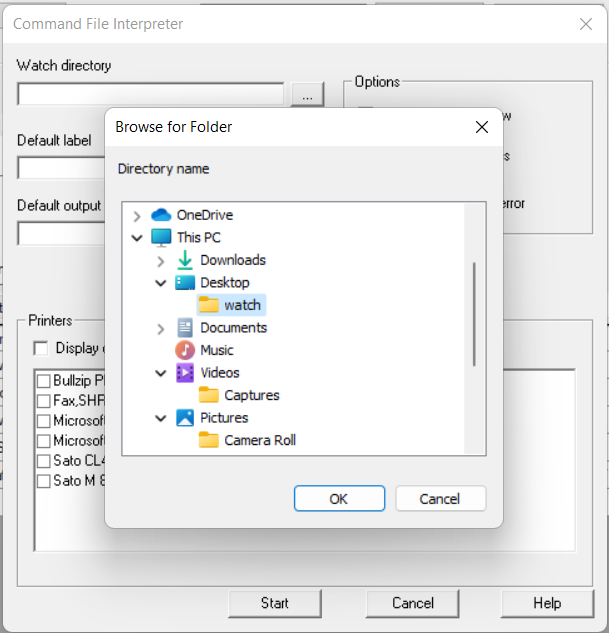
2. Select a directory to be monitored for CFI drop files in the Watch directory textbox, or click the Browse button to browse for a specific directory.
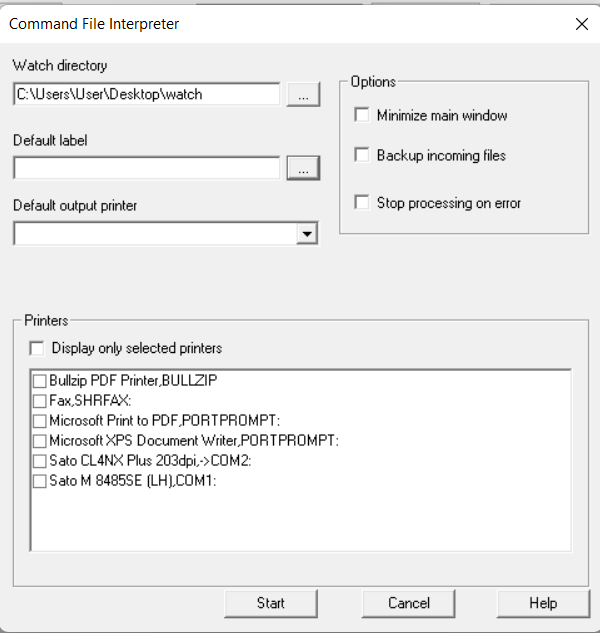
3. Define additional settings such as Default label, Default output printer and other Options as needed.
4. Select up to three (3) printers that will be used to print labels through CFI from the Printer selection window.
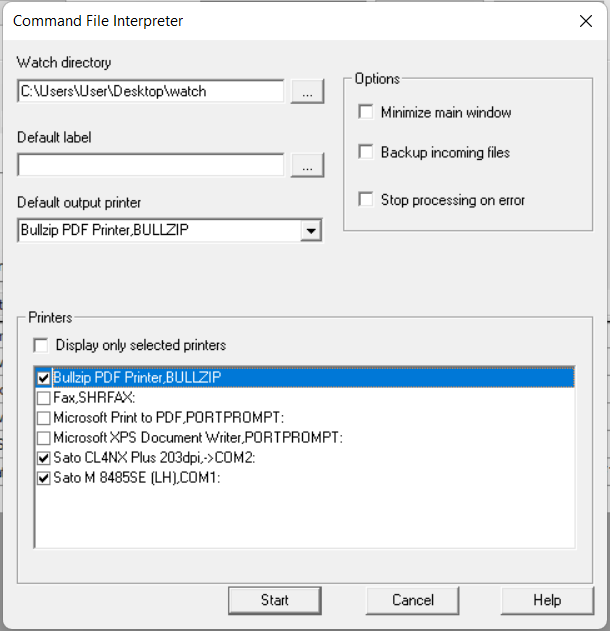
5. Click the Start button to begin the monitoring of the Watch directory for CFI drop files. The Monitor window will appear.

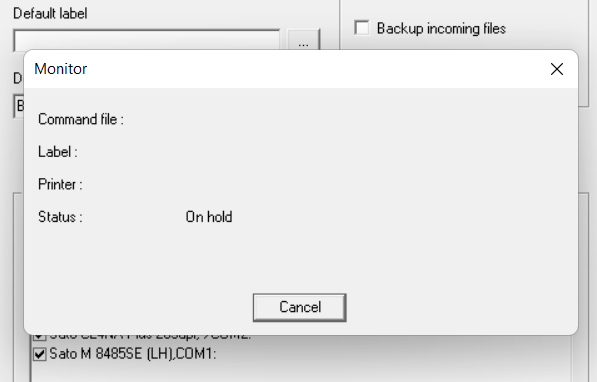
CFI is now ready to process any CFI drop files that appear in or are placed into the Watch directory. CFI drop files must be properly formatted in order to be processed properly. An example of formatted file that defines the Label name, printer name, quantity to be printed and defines the record in the database to be printed is show below:
LABELNAME = "Palette.Lab"
Batch = "4512XA"
PRINTER = "Production1"
LABELQUANTITY = "1"
Note: This example assumes that the When Printed variable name defined earlier was Batch.
As the formatted CFI drop files are processed, CFI will use the defined variable information to query the database for the desired record and display the resulting data on the label design.

